Step by step instructions for installing the snippet of code that enables NEXT90 measurement to track web visitor and calls.
1. Log into your Google Tag Manager account.
2. Click Add A New Tag.
.png?width=688&height=356&name=image%20(12).png)
3. Click Choose a tag type to begin setup...
.png?width=688&height=211&name=image%20(9).png)
4. Name the trigger something like NEXT90.
5. Select Custom HTML.
.png?width=688&height=470&name=image%20(11).png)
6. Enter the NEXT90 snippet of code in the HTML field.
.png?width=688&height=562&name=image%20(10).png)
7. Click Choose a trigger to make this tag fire...
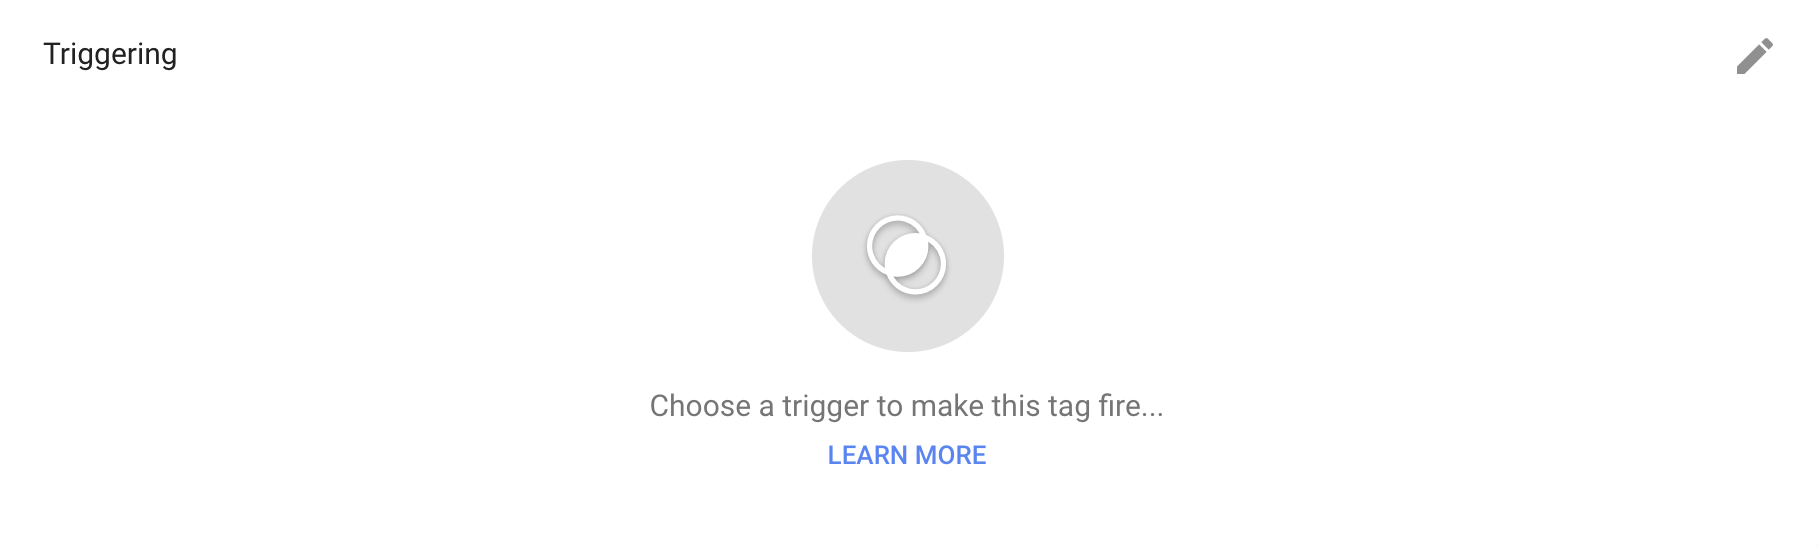
(Note: if you'd like to track traffic on only one path and not the entire website, skip to step 10.)
8. If you would like to track traffic on the entire website, select All Pages.
.png?width=688&height=169&name=image%20(8).png)
9. Hit Save.
.png?width=688&height=621&name=image%20(7).png)
10. When your new tag is added, you see a message at the top right of your screen notifying you that you've made a workspace change. Click Submit and then Publish.
That's it! Your code is now embedded, which will be reflected in your NEXT90 account once you hit refresh.